Project management//
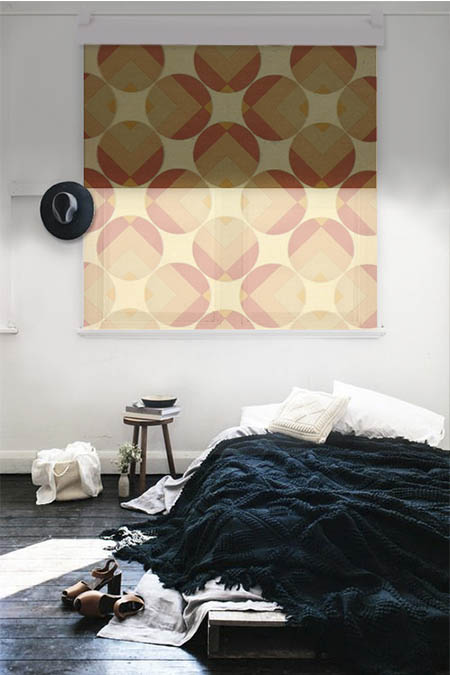
Creating conceptual photocollages of the final project
After the diagrams that depicted my final project the first week the next step was to create conceptual photocollages of the results that i would like to achieve in my final project. Different times zone and location and seasons were used to specify the final product. More details in the final project section.

Creating my first web portfolio step by step
Once again, this week i continued more with html and css tutorials. I tried to understand the connections and the relations between the elements and how to modify them according to my preferences. When i finished with the basics of html i started with css and the combination of html and css. Once again, codeacademy worked very effectively and prepared me step by step for my website.Here is how i started with the html file. -> < html> -> < head>. I also created a back button that i placed at all the webpages.Here, i used a combination of html and css. The code is like < p style="text-align:">< a href='.html'>< button class="" type="button">back< /button> < /a>
. CSS.button__holder { position: ; width: %; height: %; display: ; flex-wrap: ; align-items: ; justify-content: ;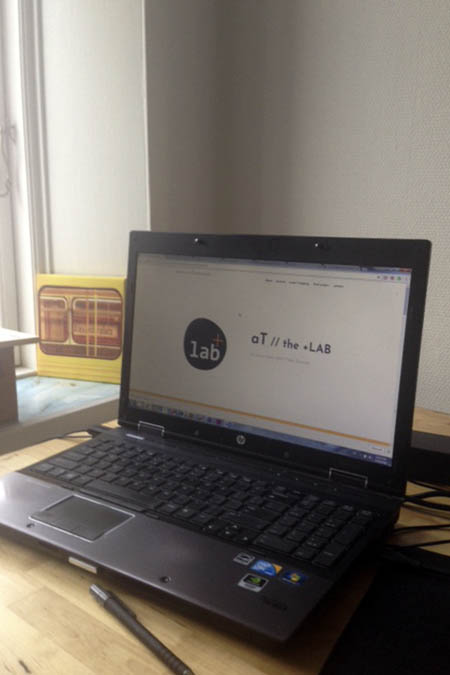
Styling the homepage
A template was downloaded from boostrap and was modified accarding to my preferencies and taste. I found the procedure pretty difficult and with problems that i didn't know how to solve even with two weeks of learning html and css.Moreover, the code included java script that is very advanced for my present skills and unfortynatelly i was not able to control and modify it! Finally, i took the decision to use the existed website for two weeks and the same time to create my own website froem scratch by using everything l have learned about html and css in codeacademy.
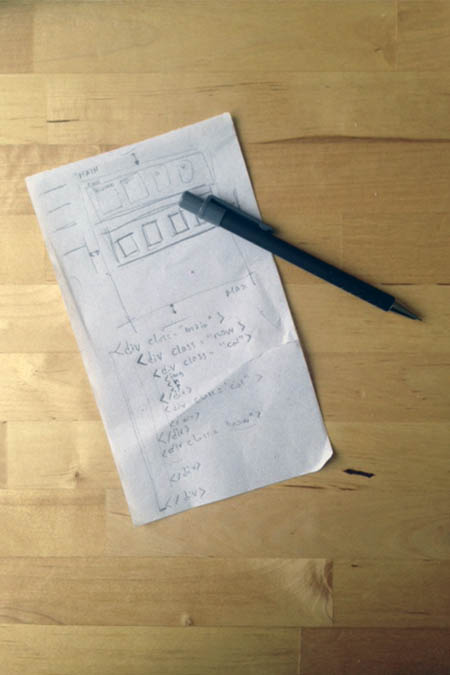
Hand made sketch of the initial idea of the website
Hand made sketches of the new wenpage were doneon paper and the first draft ot the code was written down. The new webpage would me more functional and efficient and entirely made by html and css.
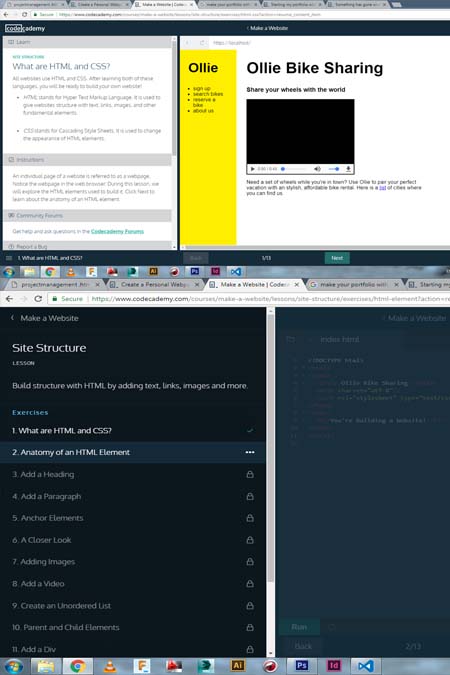
Coding a new website
Coding a new website from scratch was not so difficult as i thought.I tried to combine everything i learned this two weeks and i managed to create something that was made entirely from me and my knowledge. The idea is that i would like to add upgrades as i will continue with coding in the future.
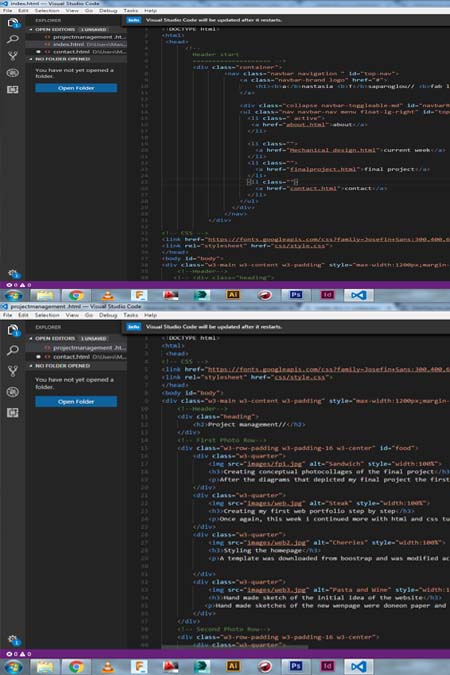
Html and css
This website was entirely created in html with some css coding sometimes. I tried to use as much as i could html and i was always finding alternative ways to use html and rather than css.Nesting and divisions were a helpful method at this decision.
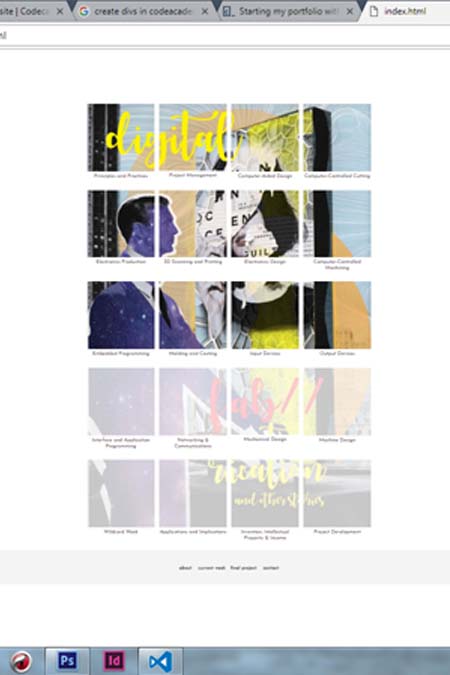
The final website
The final website has the structure of a classic portfolio that lights on the right window every week. a tool bar was created on the top of the page and a foot[rint on the bottom.

About the background
The picture that was used as a background at every week's assignment is a photocollage that i created inspired by an old film noir with Garry Grant called 'The fountainhead'. The story shows the complicated life of an architect back in the 40's and i was really wondered what a person he could be in an world so different from his own world...the one of digital fabrication. As an architect i got inspired and very sensitive about it.
Things i would do differently//
An important thing that i would do differently for my project's is to organize better my files and my commit messages. After 6 months of creation in fa academy the load of information is huge and only with good planning and organization they can be organized. More specifically, i could organize each week's images and information in different subfolders with the name of each week.
Technical specifications//
ABOUT VERSION CONTROL//The version controls system allows you to deposit files and their different versions and progress and recall them back any time you want. Version control is the best way to share files and the best solution to group work. I believe that is a useful tool for designers since you can save the different versions of files and images and recall them back and this is the biggest advantage in comparison with other platforms like google drive and dropbox.Especially for fab academy Git version control system was an essential and helpful tool since the sharing ideas, files and the most important the development of these is an important value of fab academy. Last but not least, the name that we give in the commit message everytime helps us to organize our work and to reach a sharable methodology.
HOW I PUSHED A FILE IN GIT//Step 1_ open git bash. Step 2_ place the files that you want to push in the repository file. Step 3_ enter the repository file from git bush with the cd command. Example cd /D , cd Documents, cd repository file. When you have reached the repository file the color of the file in git bash will change into green. Step 3_ comment: git status-> git add . -> git status -> git commit -m "your comment goes here" -> git push.
HOW I START AN HTML FILE// < !DOCTYPE html> -> < html> -> < head>
HOW I MADE A HOOVER BUTTON// type < p style="text-align:">< a href='.html'>< button class="" type="button">back< /button> < /a>
. CSS.button__holder { position: ; width: %; height: %; display: ; flex-wrap: ; align-items: ; justify-content: ;HOW I MADE A MENU BAR IN HTML// < !DOCTYPE html> -> < html> -> < head> -> < div class="" id=""> -> < ul class="" id=""> -> < li class=""> -> < a href="about.html">about< /a> -> < li class=""> -> < a href="finalproject.html">final project -> < li class=""> -> < a href="contact.html">contact -> < /li> -> < /ul> -> < /div> -> < /nav> -> < /div>.CSS, ul { padding: ; margin: ; list-style: ; }, html{ -ms-text-size-adjust: %; -webkit-text-size-adjust: %; box-sizing:border-box;
Conclusions//
The conclusion of this week is that the project management week helps us to mark our path and directions. The choise i made to create a new website based entirely on my own skills gave me freedom and motivation to continue with coding.
Links//
code your own portfolio 1, code your own portfolio 2, bootstrap templates, The fountainhead,